Difference between revisions of "Proxmox: Install CHR di Proxmox"
Jump to navigation
Jump to search
Tag: Reverted |
Tag: Reverted |
||
| Line 16: | Line 16: | ||
[[File:chr_1.png|300px|left]] | [[File:chr_1.png|300px|left]] | ||
[[File:chr_2.png|300px|left]] | [[File:chr_2.png|300px|left]] | ||
[[File:chr_3.png|300px|left]] | [[File:chr_3.png|300px|left]] | ||
[[File:chr_4.png|300px|left]] | [[File:chr_4.png|300px|left]] | ||
[[File:chr_5.png|300px|left]] | [[File:chr_5.png|300px|left]] | ||
[[File:chr_6.png|300px|left]] | [[File:chr_6.png|300px|left]] | ||
[[File:chr_7.png|300px|left]] | [[File:chr_7.png|300px|left]] | ||
[[File:chr_8.png|300px|left]] | [[File:chr_8.png|300px|left]] | ||
Revision as of 20:49, 11 May 2022
Cara Install Mikrotik CHR (Cloud Hosted Router) di Proxmox
1. Download Mikrotik CHR nya disini : https://mikrotik.com/download
2. Contoh nya saya menggunakan versi 6.45.6 disini : https://download2.mikrotik.com/routeros/6.45.6/chr-6.45.6.img.zip
3. Pastikan Mesin proxmox sudah terkoneksi ke internet.
4. Akses mesin proxmox menggunakan ssh kemudian ketik perintah:
#apt-get update
#apt-get install unzip
#wget https://download2.mikrotik.com/routeros/6.45.6/chr-6.45.6.img.zip
#unzip chr-6.45.6.img.zip
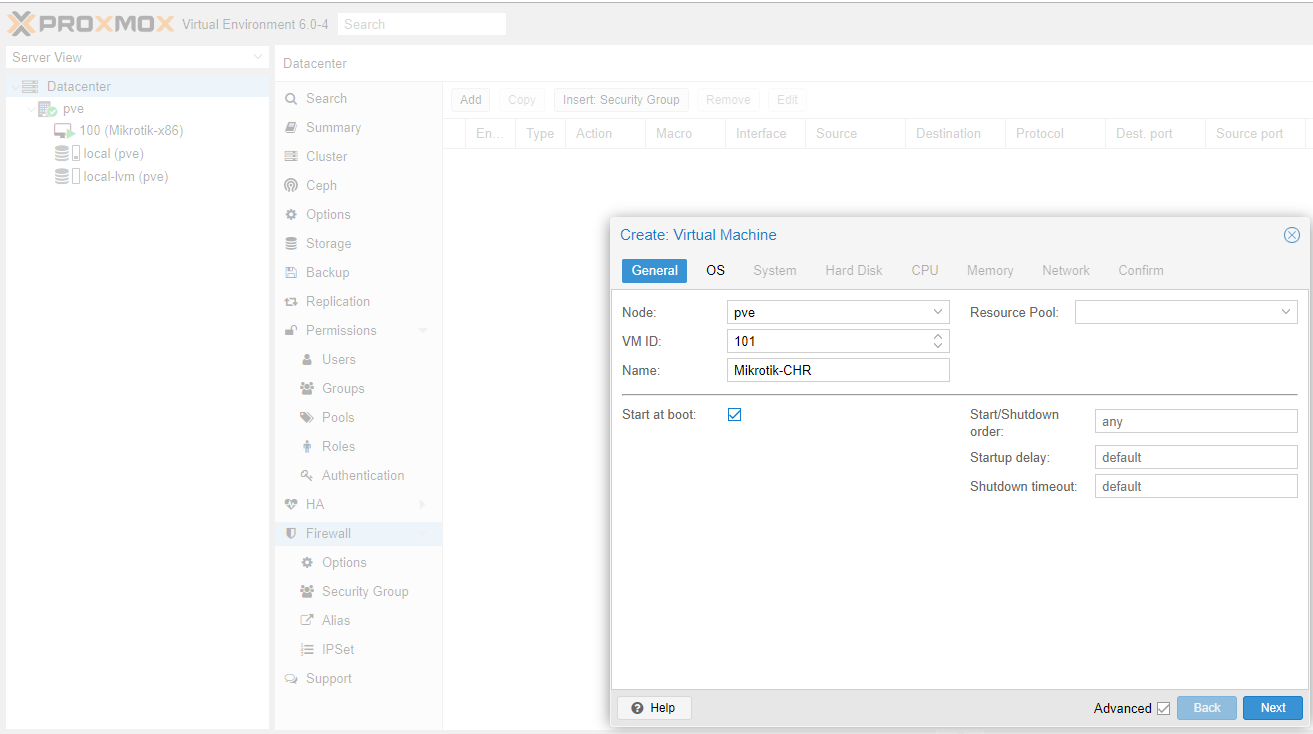
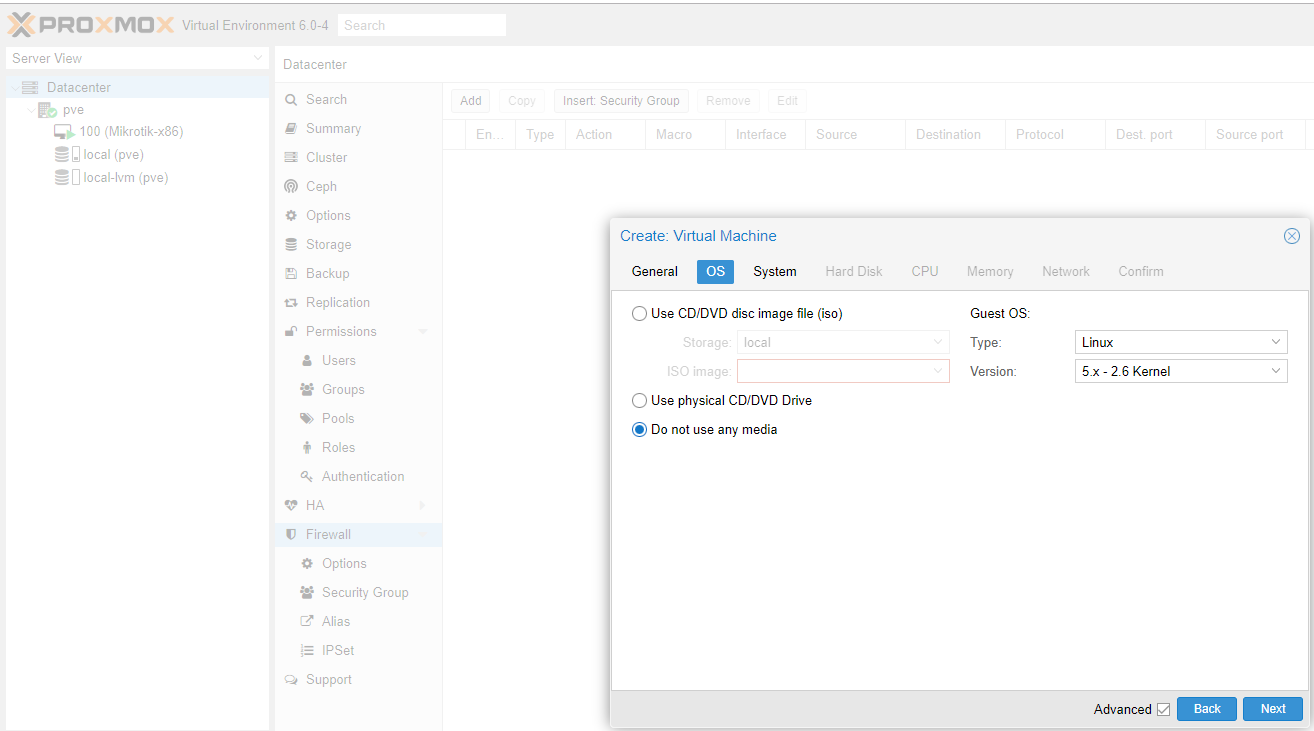
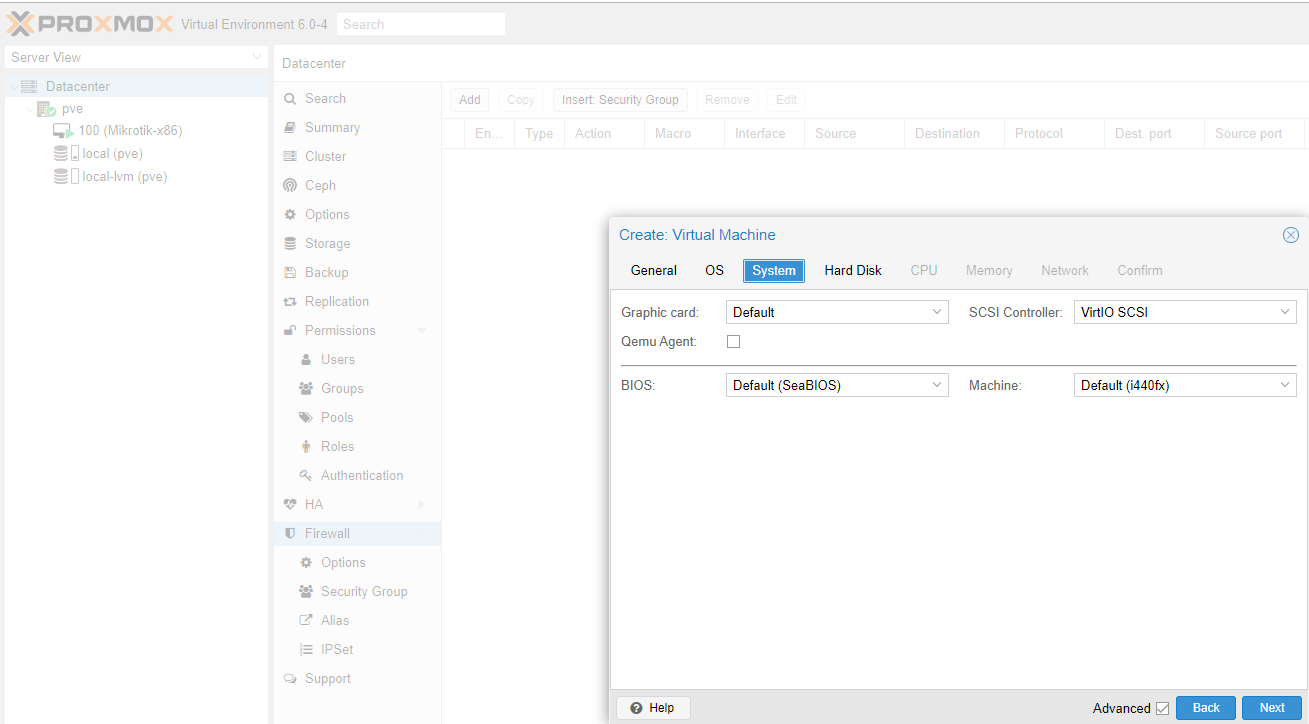
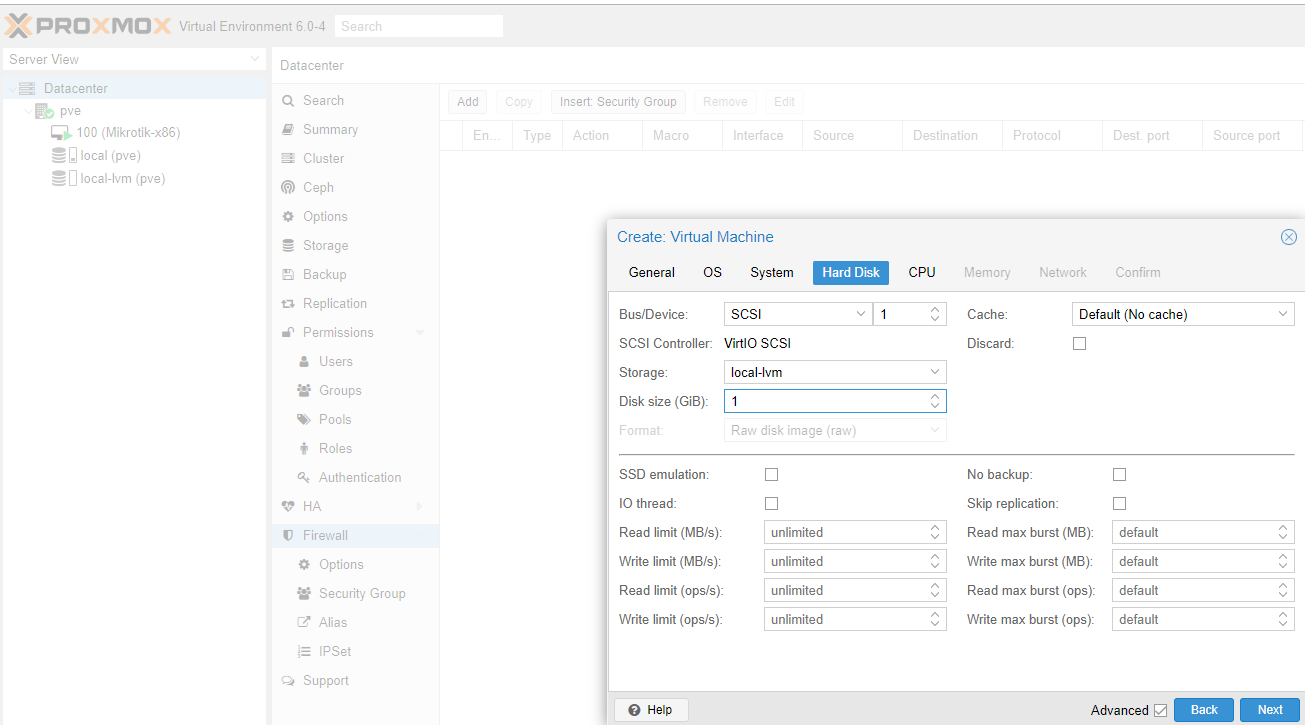
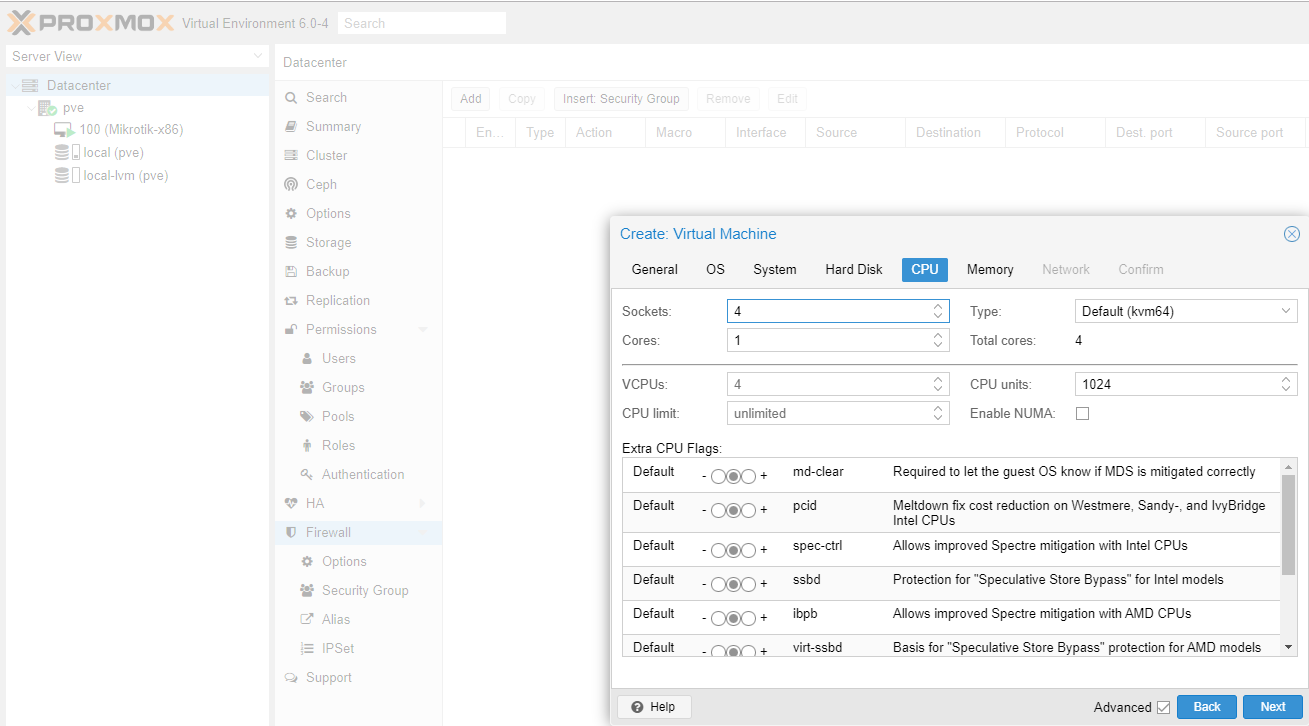
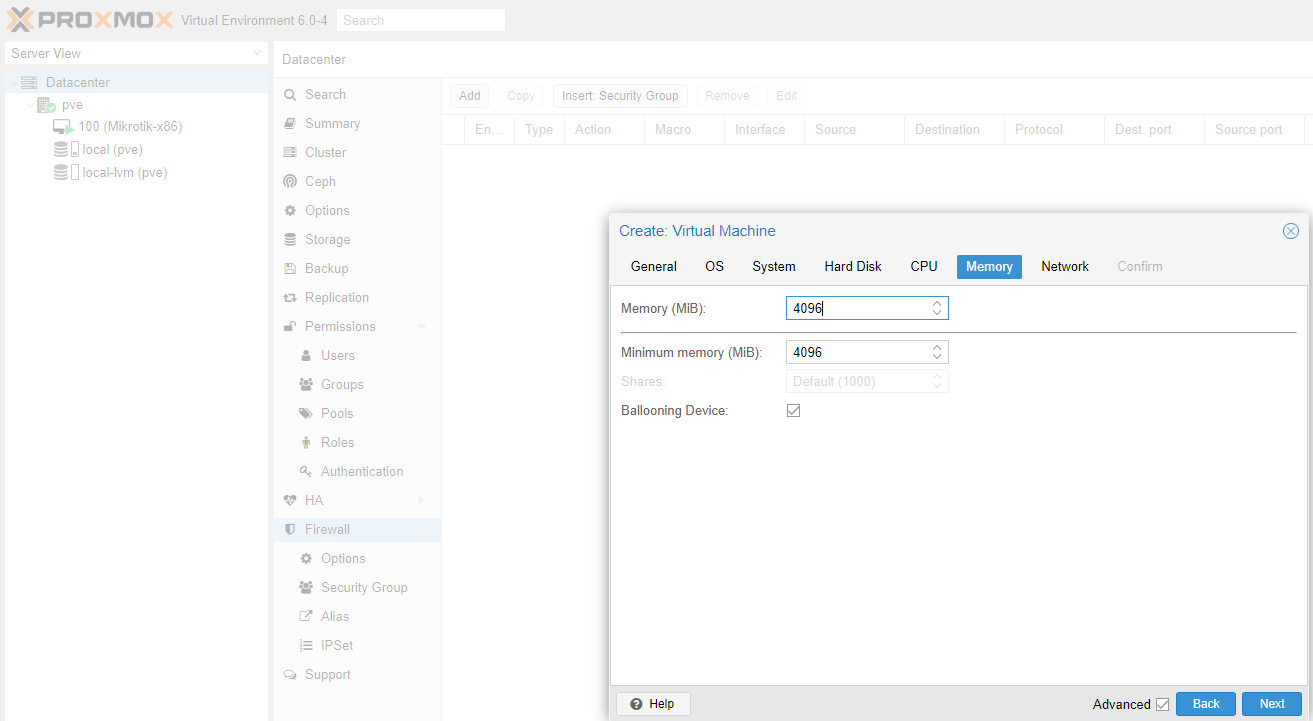
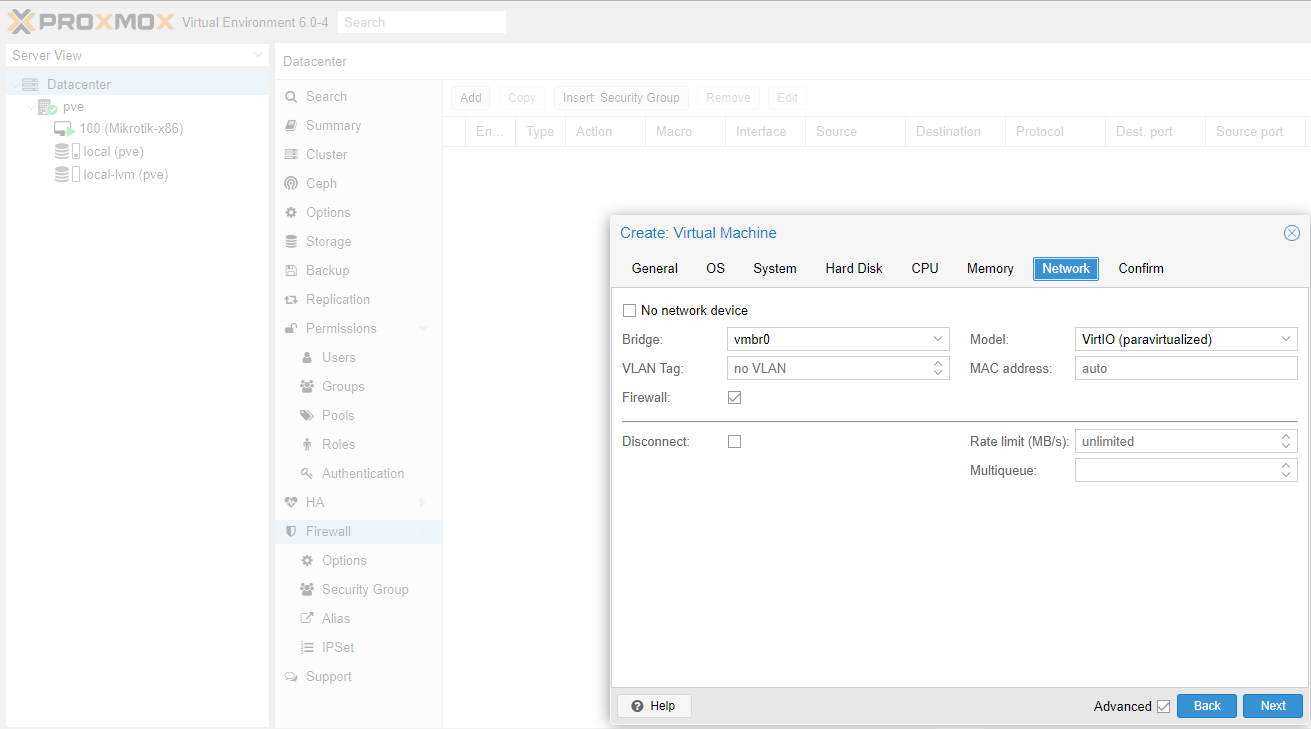
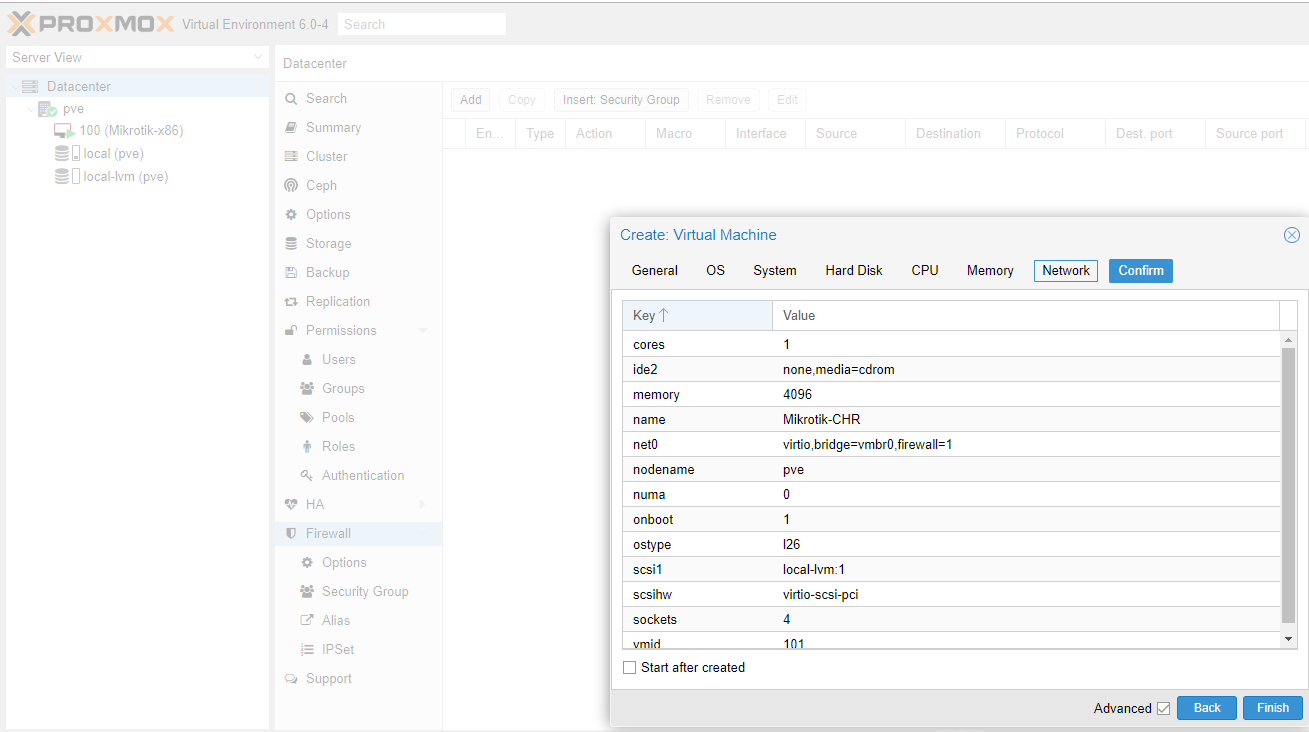
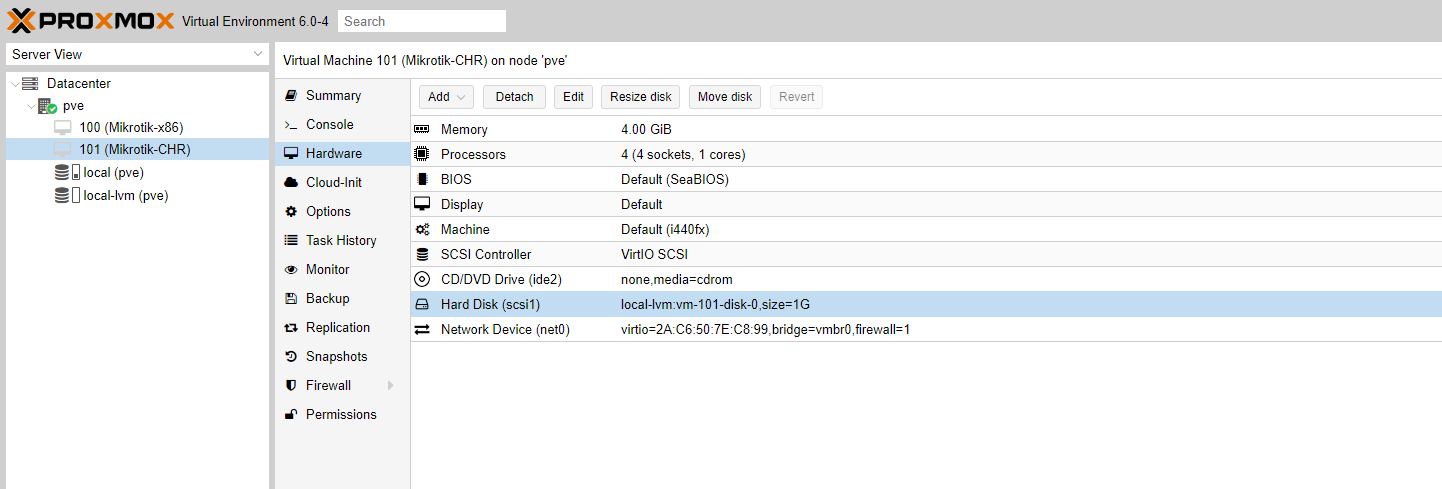
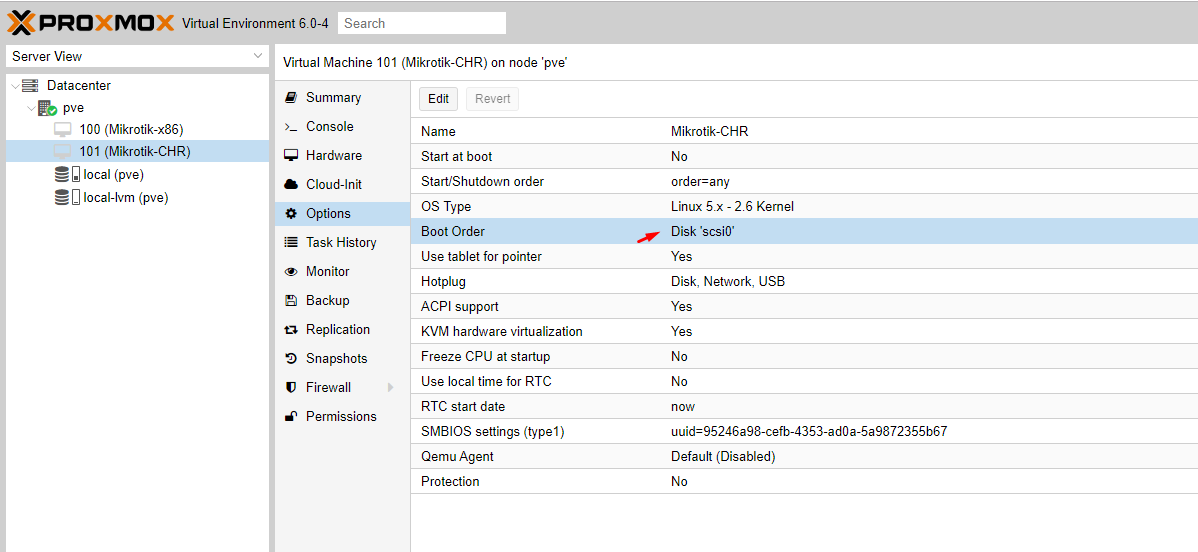
5. Kemudian kita buat create VM di webconfig proxmox sesuai dibawah ini.


6. Ketika saya membuat VM, saya menggunakan VM id 101
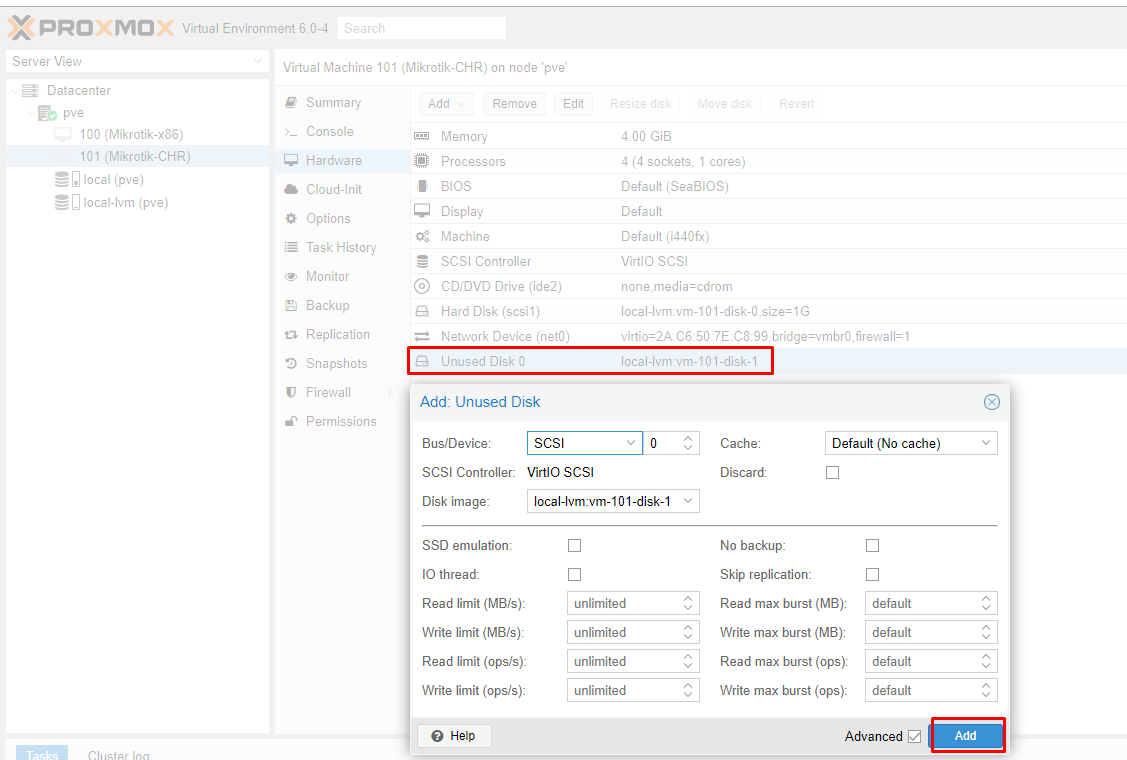
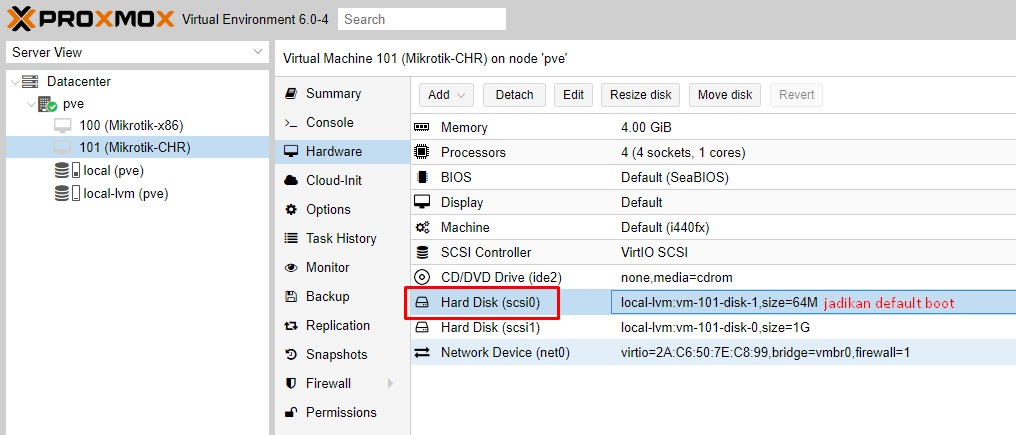
7. Kita kembali ke mesin proxmox
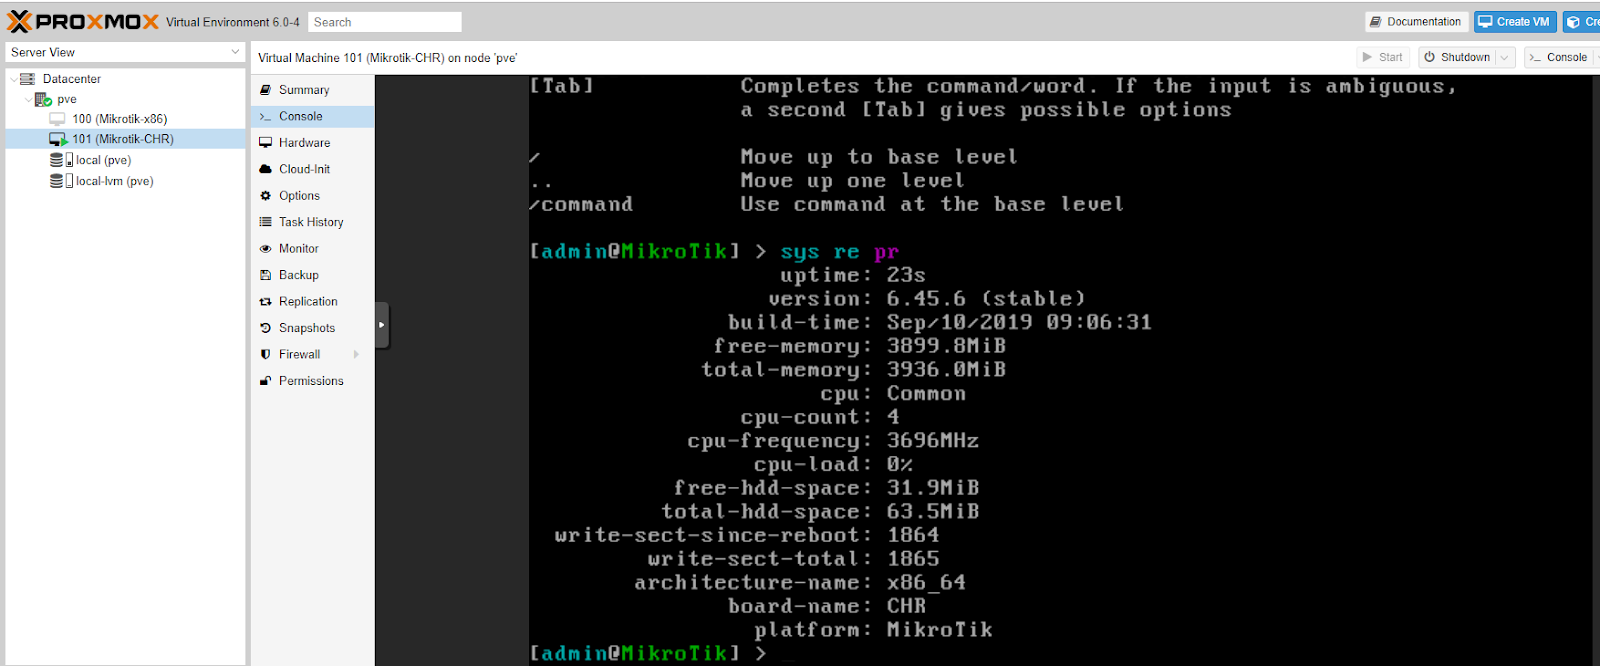
#qm importdisk 101 chr-6.45.6.img local-lvm


